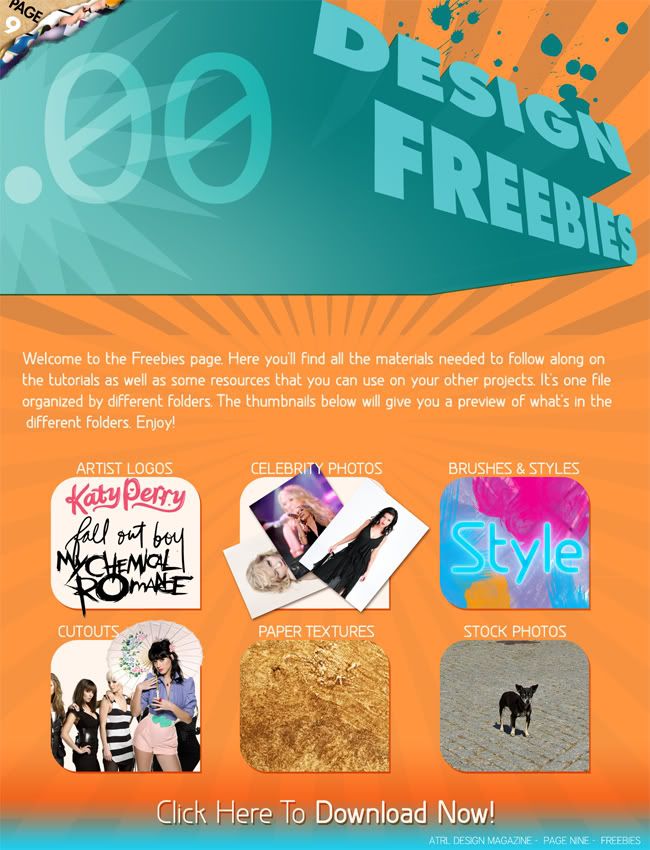
This should be a fairly easy tutorial to follow because I’ve made all of the parts you’ll need available on the freebies page. Okay, let’s begin.
First open the GA_PaperTexture.jpg from the Paper Textures section of the freebies pack.
Now select the type tool and choose the font “Club”. If you don’t have it, you can download it here:
http://www.dafont.com/club.font. Make the size 150px and type “Girls” in a green color.

Before we continue, let’s talk a little about something called Kerning. Kerning is the amount of space between each letter/number. When you’re designing logos it’s a good practice to tweak the kerning so it’s compact and even. As you can see, the GIRLS type has a gap between the R and the L. So let’s fix that now.
With the type tool still selected, click between the R and the L. Now hold down ALT and tap the left key until the space matches the space of the rest of letters. If you need to change the kerning of multiple letters, you can select them and use Alt + Left key to change the kerning.

Okay, lets continue. Create another new layer and this time we’ll be using the font “Akashi”. It can be found here
http://www.tenbytwenty.com/products/category/typefaces. The font size is 125px. Type the word “Aloud” in white.

From here on out, we’ll be creating designs on top of the Girls Aloud type as well as below it. So keep in mind that the instructions will indicate whether it goes on top or below.
The next few effects go BELOW the Girls Aloud type.
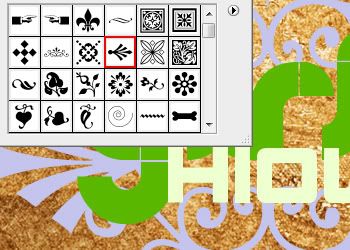
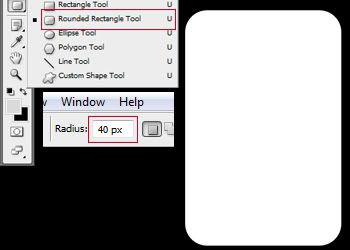
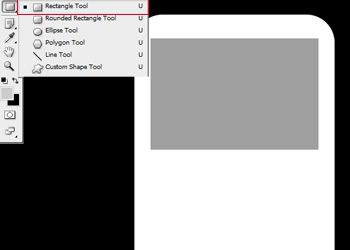
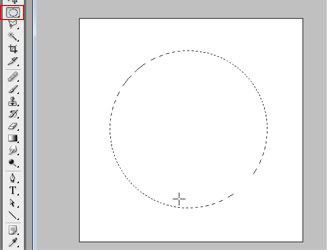
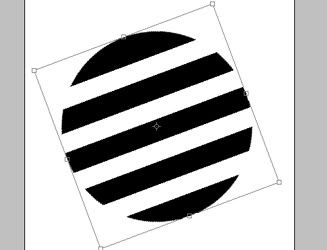
Select the background and click the New Layer icon so the new layer goes right on top of it. Choose the Custom shape tool, click on the icon on the right of it and choose “All”. When the window pops up, click “Append”.
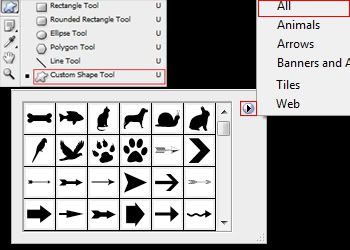
Select the shape in the example
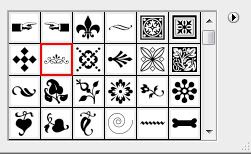
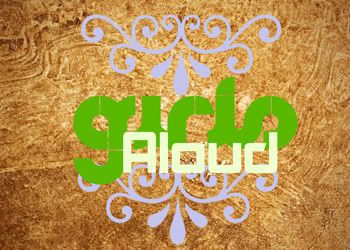
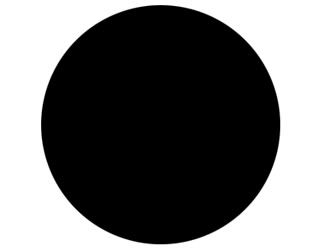
Once you select it, hold down shift and draw the shape out by clicking and dragging on the stage. Place the shape on the bottom of the Girls Aloud text as shown in the example. If the size doesn’t look like the one in the example, hold CTRL and press T to enter transform mode and tweak the size.

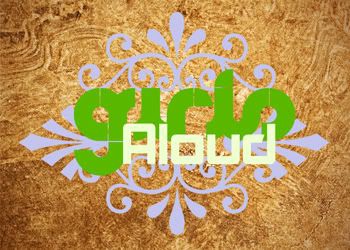
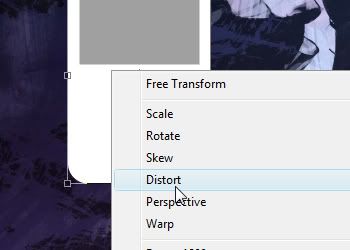
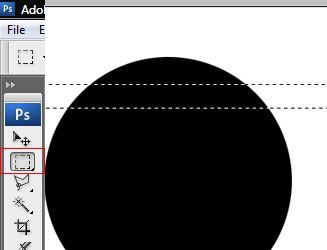
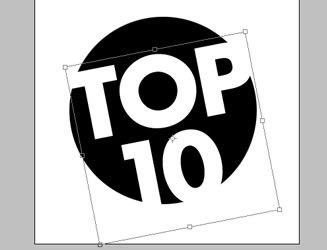
Now right click that layer in the layers panel and choose “Duplicate Layer” from the menu that pops out. Drag the duplicate to the top of the Girls Aloud logo (On the stage, NOT in the layers panel).
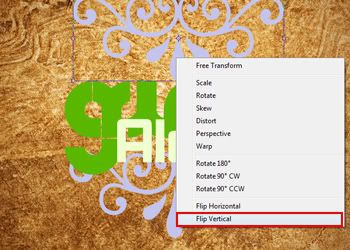
Hold CTRL and hit T to enter Transform mode. While in Transform mode, right click the shape and choose “Flip Vertical” from the menu. Then position the shape as shown in the example.

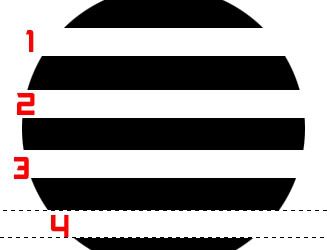
We need to repeat this process one more time, this time it’s for the left and right sides of the Girls Aloud type. Go back to the Custom shape tool, choose the shape as shown in the example and follow the same steps mentioned above to complete this step. (Note: Instead of “Flip Vertical”, this time choose “Flip Horizontal”)
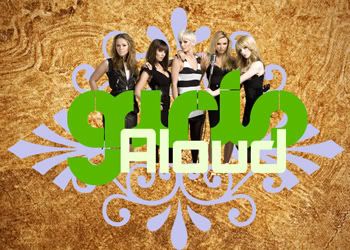
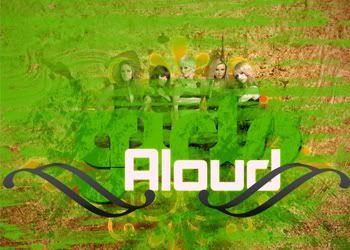
Open the Girls Aloud Cutout from the Freebies pack and drag it onto the stage. Make sure it’s UNDER the Girls Aloud type. Resize them (CTRL + T) and position them as shown in the example:
The next steps are to be placed OVER the Girls Aloud type layer.
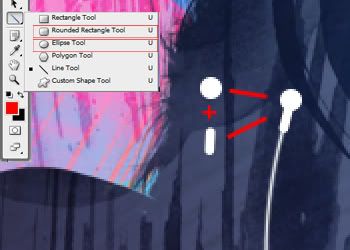
Create a new layer over the GA type and choose the Custom Shape tool. Select this shape:
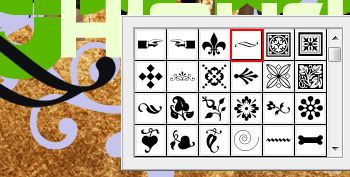
Choose a dark grey color from the color options and draw out the shape. Now position it as shown in the example. Duplicate the layer and drag it to the other side. Once again, enter transform mode (CTRL + T) and this time when you right click, choose “Flip Horizontal”.
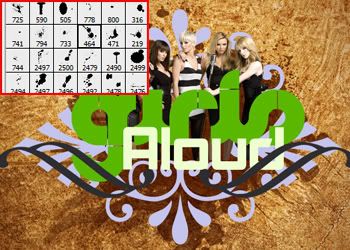
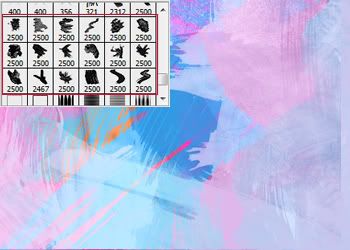
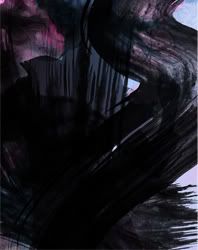
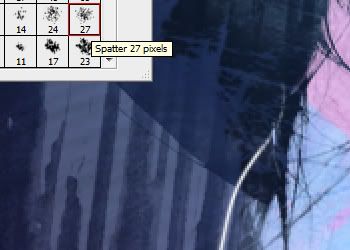
This is what composing graphics is all about; putting elements together to create something that appears to be complicated. Now let’s finish it off with some eye candy. Create a new layer over the background. For this step we’ll be using Splatter brushes that are included in the Freebies pack.
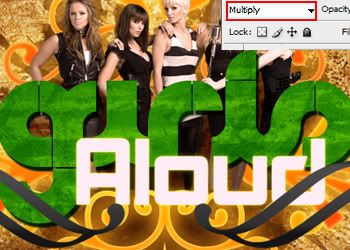
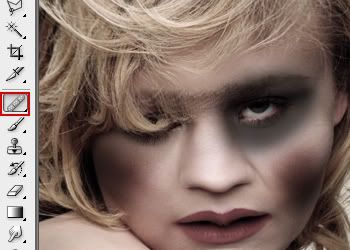
Using the Paintbrush tool, select a dirt brown color and click random splatter brushes as shown in the example. When finished, set the blend mode to multiply.
Create a new layer over that one and create a few more brush splatters. Change the blend mode to Multiply once again.
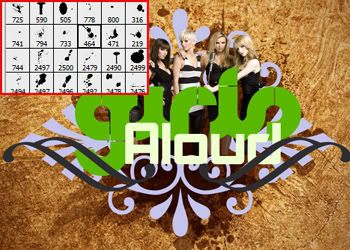
The reason we created two Splatter layers was so that the splatter effect looks like it’s blending and darkening into other splattered areas. In short, it’s just a little extra detail that pays off in the end.
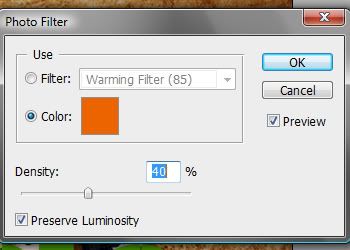
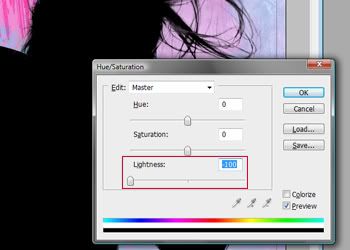
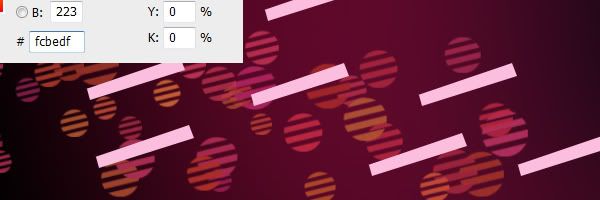
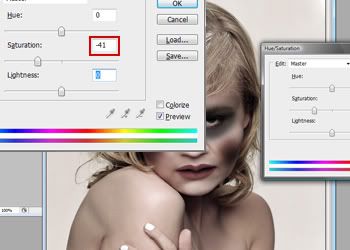
Select the layer with the Girls Aloud cutout and choose Image > Adjustments > Photo Filter. Change the setting to “Color” instead of Filter and pick a dark orange color. Also change the Density to 40%.
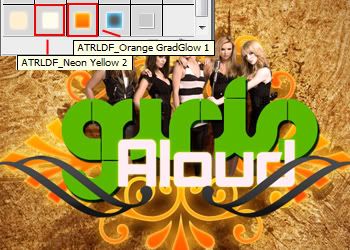
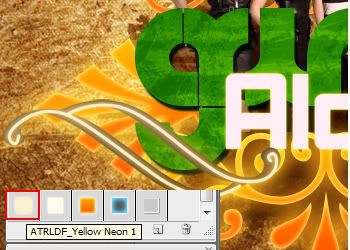
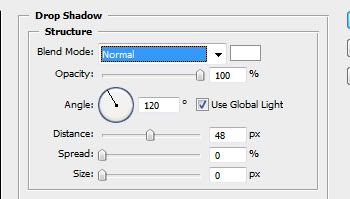
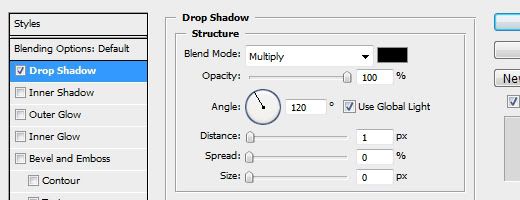
Select the four shape layers under the GirlsAloud type and click on the “ATRLDF_Orange GradGlow 1” Style from the Freebies pack. Select the “Girls” layer and add a drop Shadow effect (Layer > Layer Styles > Drop Shadow). The default settings should do fine. For the “Aloud” type, we’re using the “ATRLDF_Neon Yellow 2” style from the Freebies pack. (Damn, is there anything we’re not using from the freebies pack?!)
Create a new layer over the “Girls” layer. Using the Paintbrush tool, right click the stage and use some more splatter brushes in green. Darken the green color after a few clicks and make some more spots until you get a decent effect. Here’s what I got
Now right click the layer and choose “Create Clipping Mask”. Also, set the blend mode to Multiply
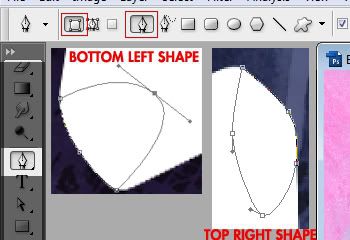
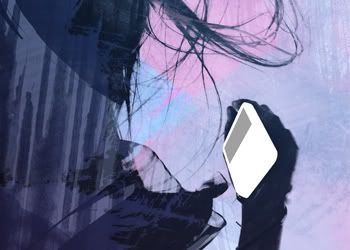
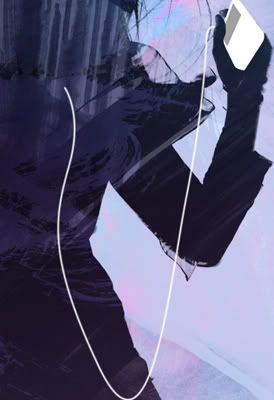
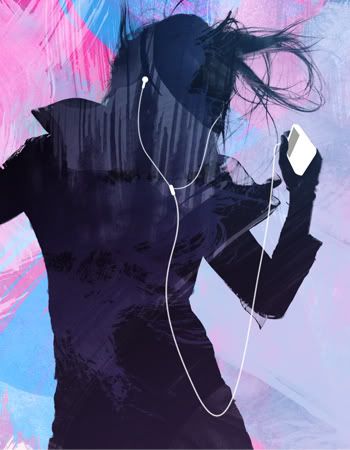
If you did the Apple Ad tutorial, you should be familiar with this next step. We’re going to make some neon lights for the two shapes above the Girls Aloud type using the pen tool.
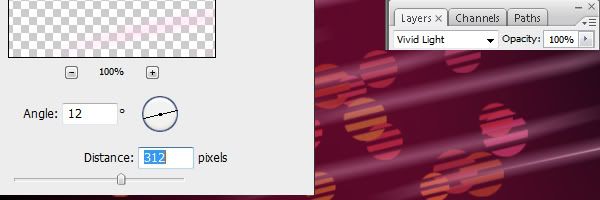
So select your Pen Tool and make sure you have these settings:

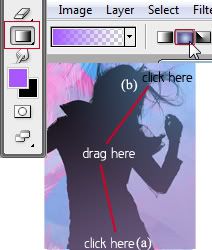
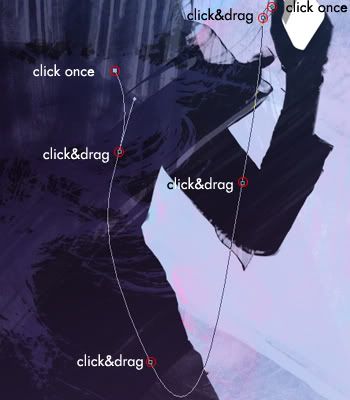
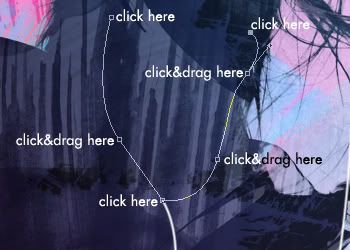
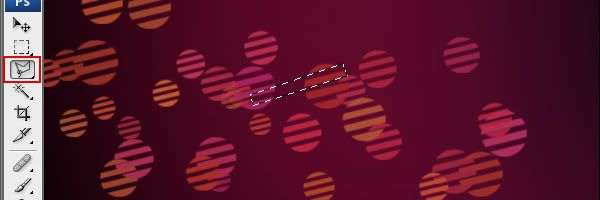
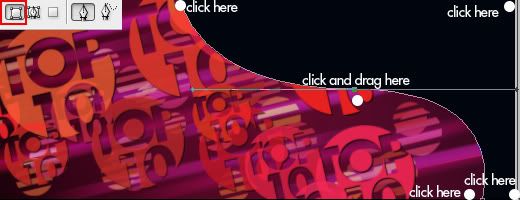
Create the first line by clicking and dragging to make curves.
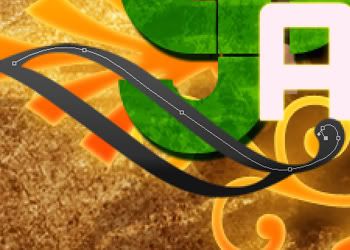
Once you’ve made the first line, hold ALT and click the stage to complete it. Now drag out another line for the bottom

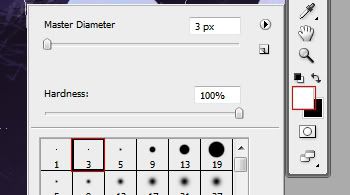
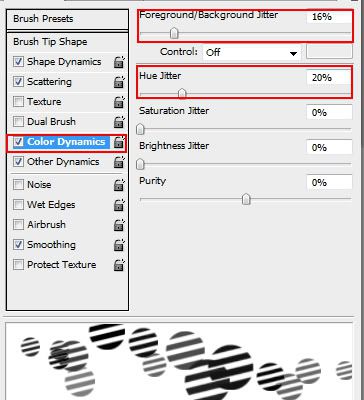
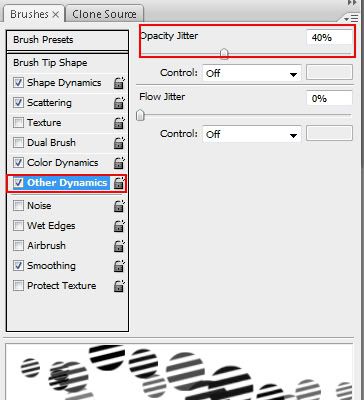
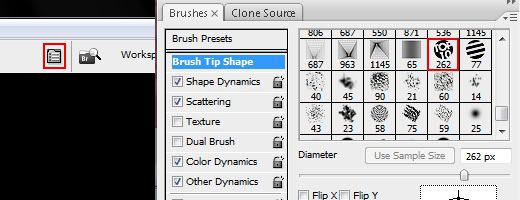
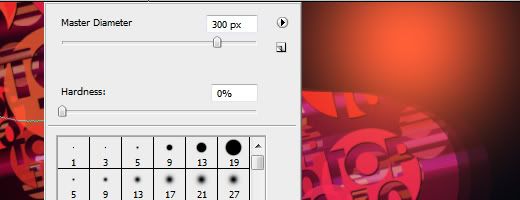
Go to your Paintbrush tool, right click the stage and make sure you have these settings selected:
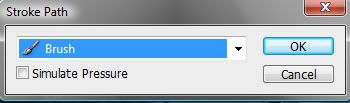
Now back on your Pen tool, right click and choose Stroke Path. Make sure “Simulate Pressure” is not selected.

Now use the style ________ from the Freebies pack.
Duplicate this layer and mirror it to the other side by hitting CTRL + T then right clicking and choosing “Flip Horizontal”.
We’re almost at the finish line! Just one more step before we’re done.
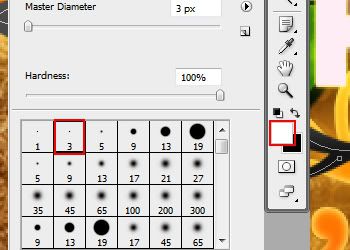
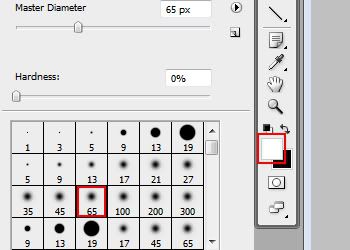
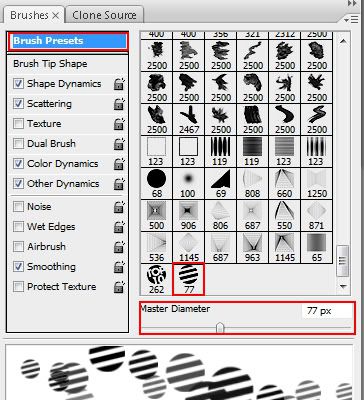
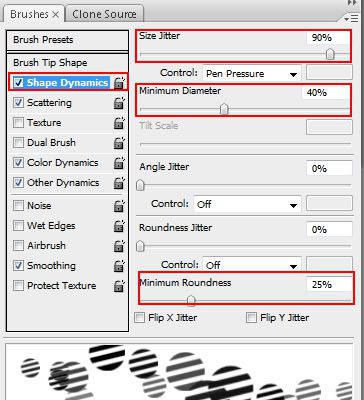
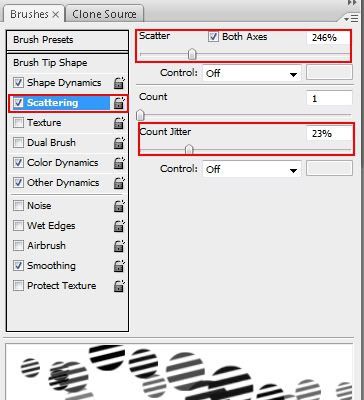
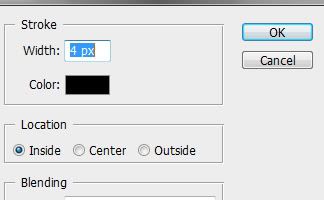
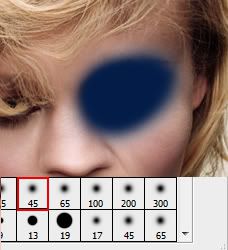
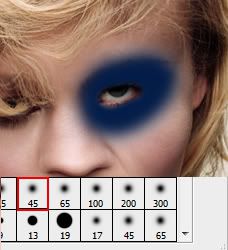
Create a new layer over all other layers, select the brush tool and choose these settings:
Click between the hollow areas of the “G” and the “S” of “Girls” with the brush you just selected.
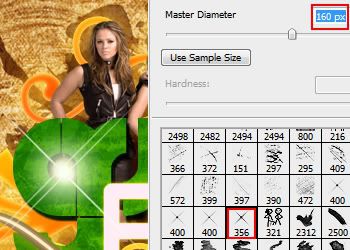
Now create a new layer above that and use the “Sparkle” brush from the freebies pack, with a size of about 160px
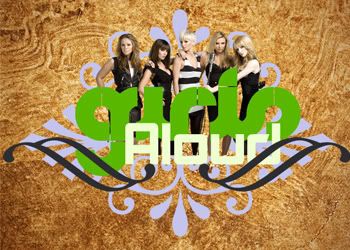
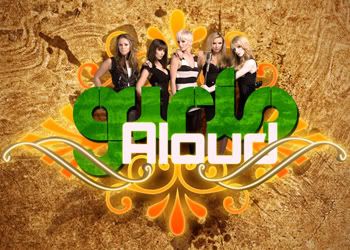
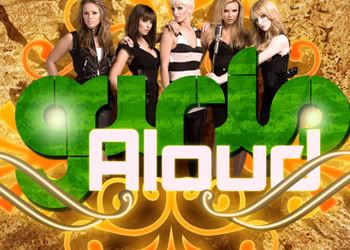
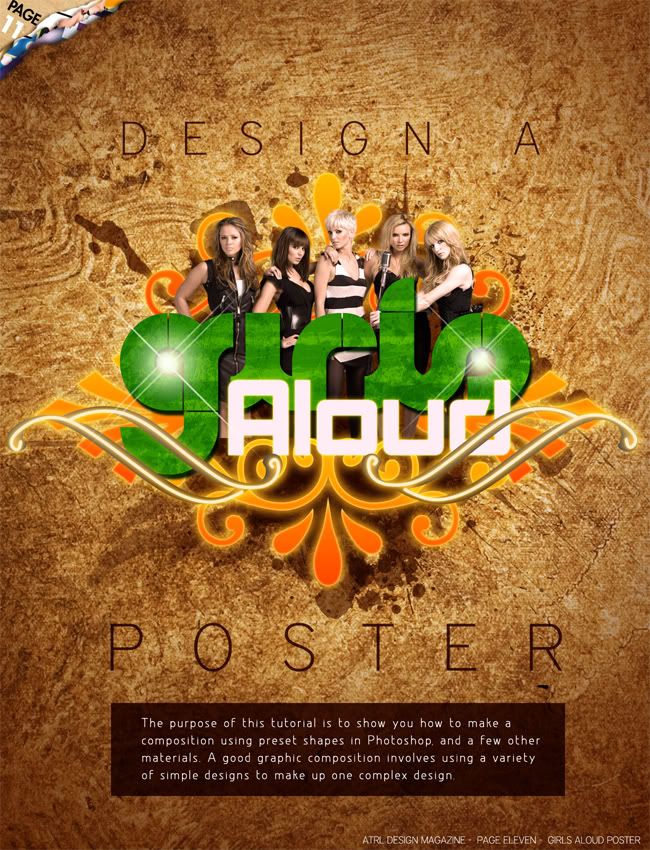
And there you have it. Using simple shapes from Photoshop’s presets along with some materials of our own, we were able to create a nice GA poster that looks rather official if I do say so myself
")
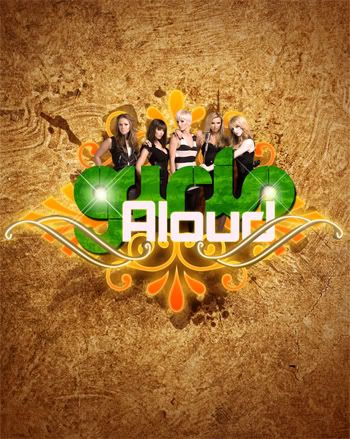
I hope this gets you interested in composing more designs for your layouts, avatars, and wallpapers. Have fun

 ..
..


")