Effect #1 – Water Splatter Effect
In this mini tutorial we’ll be turning type into blobs of water
Open up WoodenFloor.jpg which is located in the Stock Photos folder of the freebies pack. Create a new layer and select the Type Tool. The font I’m using for this project is called “
LumineSign” and the size is 145px. Type your text out (whatever text you want) and make sure the color is white.

Right click the type layer in the layers panel and click “Convert to Shape”

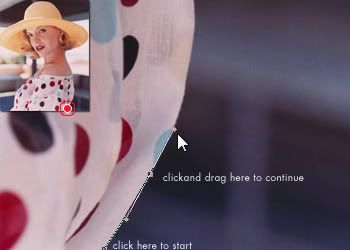
Choose the Path Selection tool from the toolbar. Click and drag each letter in a random position close to the other letters. We want to make it look like the letters are connected together, but not on the same level.

Now right click the layer again and choose “Rasterize Layer”.

Select the Brush tool and apply the following settings.

Make sure your color is set to white and begin clicking the stage to add some blobs. Hit the right bracket key to make your brush larger and the left bracket key to make it smaller.
Alternate between these two, so you get a random brush size every time you click the stage.
You can also paint some streams coming into the type as well as some streams running from the type.

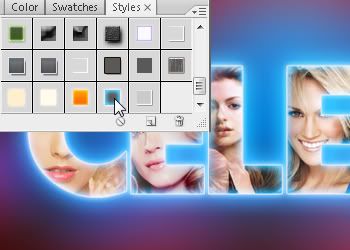
There’s a style in the Freebies Pack called “DM Water Drops”. Once you load it into Photoshop, select it from the Styles Panel.

And that’s all there is to it folks.
Effect #2 – Type on the Street
In this mini tutorial we’ll make type look like it’s painted on a street
Open up DogonStreet.jpg from the Stock Photos folder in the freebies pack. Select the Type tool and type out some text. The font doesn’t matter. Make sure the font color is a dark bown.

Right click the type layer and click “Convert to Shape”. Now hit CTRL + T on your keyboard to enter Transform Mode. Right click the type and choose “Distort” from the menu.

One by one, drag the corners of the type so that it they follow the example

Right click the type layer and choose “Rasterize Layer”, then set the blend mode to “Vivid Light”.

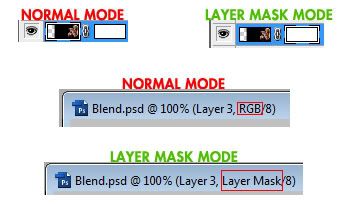
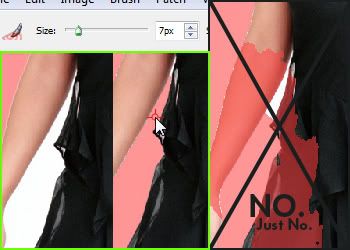
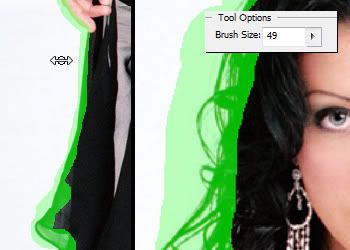
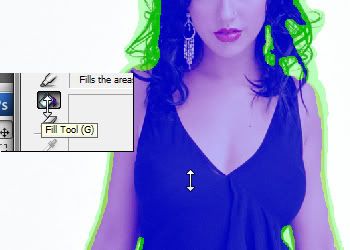
We’re getting close, but there’s one problem. The type is going over the dog and we need it to look like it’s on the street. If you read the Blends tutorial, you’ll have an understanding of Layer Masks. So with the type layer selected, click the “Create Layer Mask” icon at the bottom of the layers panel. Now choose the brush tool, right click the stage and choose a small brush (about 13px) and the color black in your color options. (If you haven’t read the Blends tutorial yet, just use the eraser to remove the area of type over the dog.)

Zoom into the project (Window > Zoom In) and paint away the type on top of the dog. Make sure you’re in Layer Masks mode before you paint (covered in the Blends tutorial). Next, go to Filters > Blur > Blur More so it’s not so sharp (unless you prefer it that way).
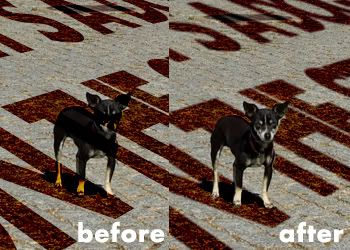
Voila! Two down, one to go.
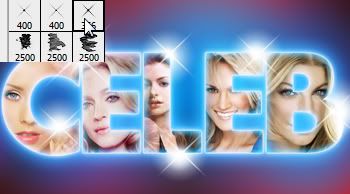
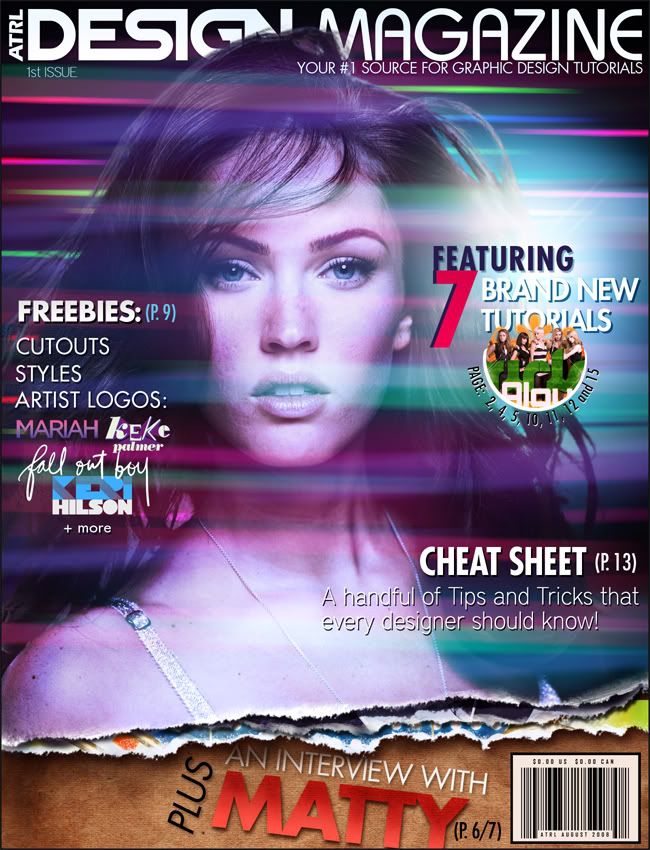
Effect #3 – Celeb Effect
And now for the grand finale, the sixteenth chapel, the magnum opus… okay it’s not that great, but yeah… the last one. In this tutorial we’ll be making this flashy type design. I went ahead and got a few things started for you so this tutorial can be as short as possible. All those things are covered fully in other parts of the magazine, so you’re not missing out on any information.
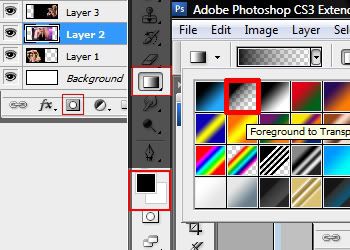
Okay, open up CelebBG.png from the Stock Photos folder of the freebies pack. I made this by using the gradient tool, setting the type of gradient to “Radial Gradient” and just randomly clicking to create the soft spots.
Next, open up CelebType.png, which is also in Stock Photos. This is a simple type layer that has been rasterized.
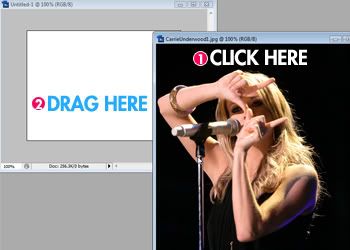
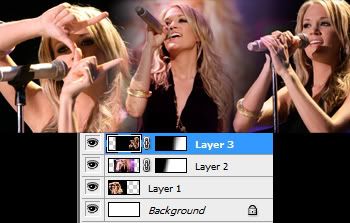
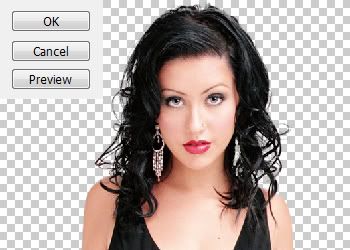
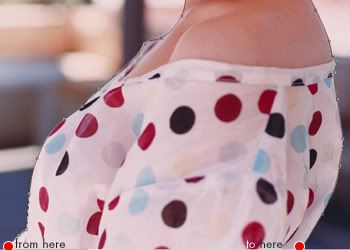
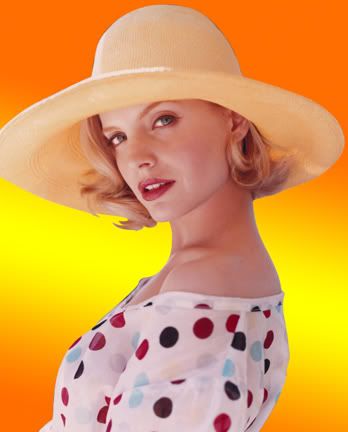
Lastly, open up Celeb_Blend.jpg located in the Celeb Photos folder of the freebies pack. Once you open all of these up, drag Celeb_Blend and Celeb Type into the CelebBG window.
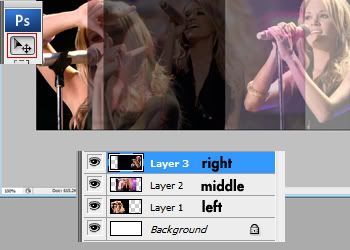
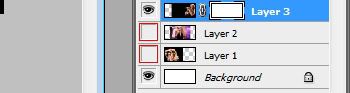
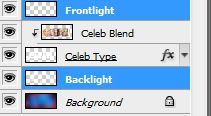
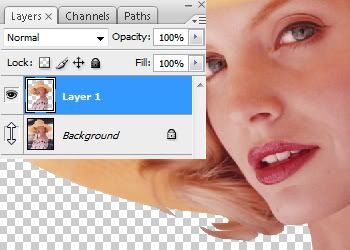
Before we go any further, let’s name these layers. (Double click the layer’s title to edit it). Also make sure the order of the layers matches the example

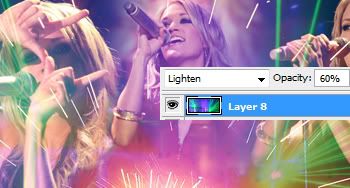
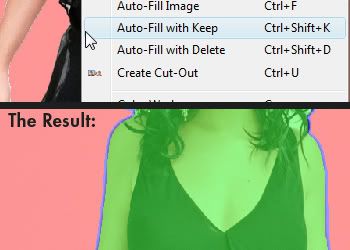
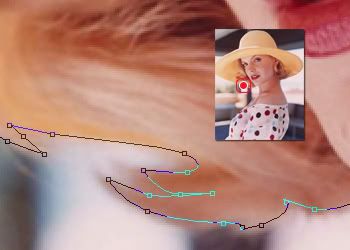
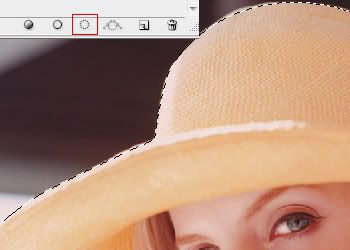
Right click the “Celeb Blend” layer and choose “Create Clipping Mask” from the menu. With the Move tool, position the blend so that you can see the faces properly inside of the type.

Select the “Celeb Type” layer and apply the “Celeb Glow” style from the freebies pack (Note: If you want to see how I made that glow style, just double click the fx icon in the layers panel and it will open the Layer Styles window with all the steps I took. You can also change the settings if you want a different color, glow amount, etc)
Create a new layer and put it over the Background layer. Name this layer “Backlights”. Next, create a new layer over Celeb Blend and name it “Frontlights”
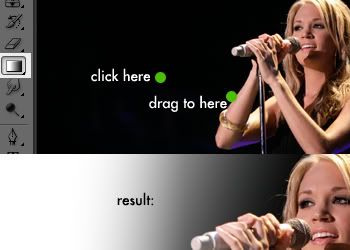
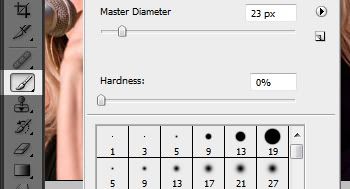
Select the Backlights layer, choose the brush tool and enter these settings.
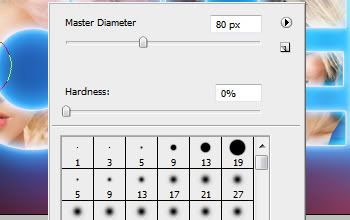
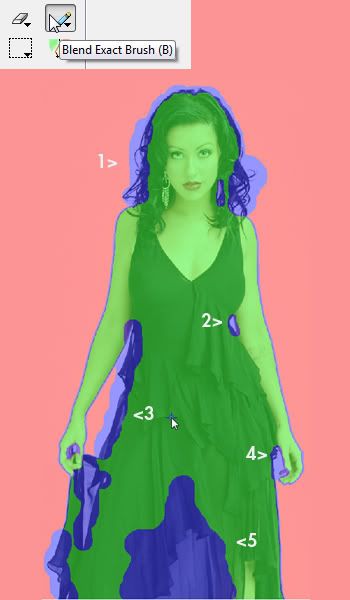
Click and paint some spots around the edges of the type as shown in the example. It’s important that you change your brush size a little for every spot, so that it doesn’t look cloned.

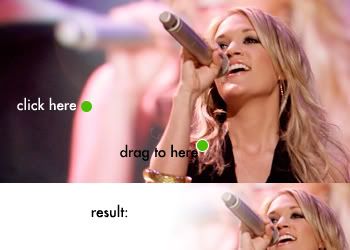
Now in the Frontlights layer, make your brush size much smaller and put some spots right where the larger ones are. This gives the illusion that the type is affecting the way the light shines though, which is something that happens in the real world.

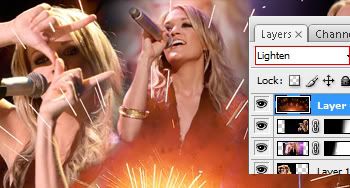
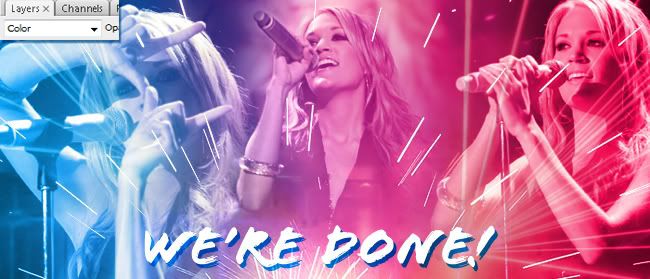
Now create another new layer, this time over the Frontlights layer. Select the Sparkle brush which is available in the Freebies pack. Click and add these where you painted the spots. Resize the brush accordingly.
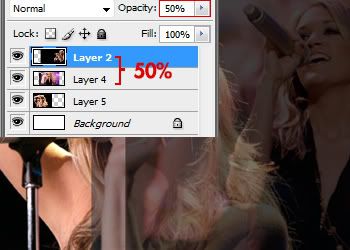
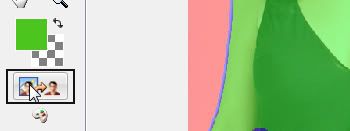
For a little added detail, choose the Backlight layer and turn the blend mode to Overlay.
 That’s it for now. I hope you’ll take these instructions and use them to make your own ideas come to life.


 sorry its not very good but i wanna start helping people


")
 ?
?


")


 lol
lol