

 Note: If you’re looking for a specific part of the tutorial. Copy & Paste the title from the Table of Contents and hit CTRL + F to use your browser’s finder feature.
Table of Contents
• Why Avatars Lose Quality
• Enhancing With Adjustments
• Adjustment Layers
• Brightness & Contrast
• Filters
• Conclusion
In this tutorial we’ll look at possible ways of enhancing the quality of our video, changing the colors and manipulating the style.
 Why Avatars Lose Quality
When you export an avatar you might feel an uncomfortable sensation of “WTF” as the quality is greatly reduced and begins to look fuzzy and noisy. Unfortunately there isn’t much you can do about this because there is a limited amount of colors .gifs can hold.
When the file type was first designed, the makers didn’t expect that anyone would need to use more than 256 colors so it’s only able to hold that amount.

 Enhancing with Adjustments
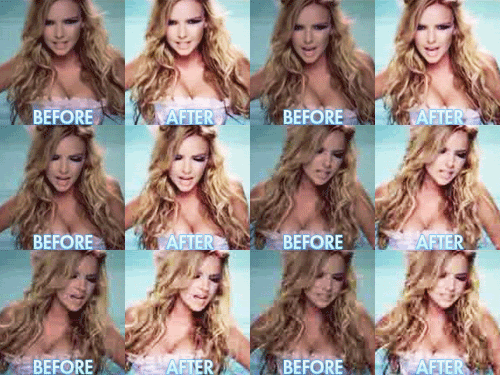
Adjustments allow you to enhance an image with a variety of different effects. You can brighten, colorize, and turn colored images to black and white. To access the Adjustment effects go to Image > Adjustments and pick one of the effects from the menu.

The most popular adjustments to use are:
Brightness & Contrast

This effect brightens the image and boosts the colors.
Hue & Saturation

With this effect you can change the color of the image.
Desaturate

Makes the image black & white.
Adjustments don’t work with video layers because it’s an animation and not a still image. If you want to enhance a video layer for your avatar you will need to use Adjustment Layers.
 Adjustment Layers
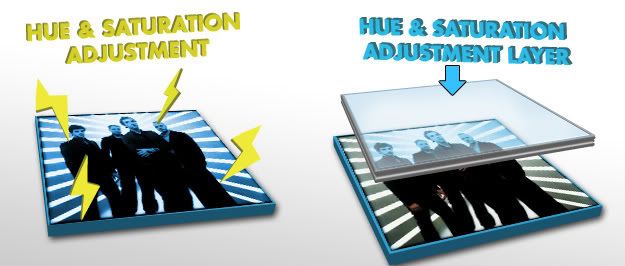
When you use Adjustments to enhance an image it sends the changes directly to the avatar. Adjustment Layers work differently because they sit on top of the image and give the illusion of the effect.
This might be a little confusing so let me explain it in another way. You’ve got a white cell phone but you would really prefer a red one. So you can either change the body of the phone which isn’t always easy or you can get a red phone case.
Adjustments would represent changing the phone’s body and just getting a phone case is similar to how Adjustment Layers work. It contains the effects you choose and sits over the layer you want to enhance. If you decided you don’t want that effect anymore you can delete it and the image or video will go back to normal. Adjustment layers work just like Adjustments, except they’re not permanently applied to anything.

To access Adjustment Layers go to Layers > Adjustment Layers and choose one from the menu.

 Brightness & Contrast
Now that you know how to apply adjustment layers, let’s focus on one in particular called “Brightness & Contrast”. This is a great way to take video from YouTube that looks too dim and brighten it up. To use Brightness & Contrast go to Layers > New Adjustment Layer > Brightness & Contrast.

This window might seem complicated at first, but what you need to do is pretty simple.
For “Brightness”, drag the handle to the right to make things brighter or to the left to make things darker.
Contrast will enhance the color, so a pale red color will look bright red when you move the handle to the right and bright red will look pale when the handle is moved to the left.

Overdoing these options will result in an effect you may or may not like, so only drag it so much until it’s just right.
 Filters
Filters have some very neat effects that can add eye candy to your avatar. Go to Filter in the Main Menu and open up Filter Gallery. Here you can see a preview of the different filter effects Photoshop has.

In the filter gallery you can preview all of the different filters before you add them to your project. Each one has its own set of options so you can tweak it until it looks the way you want it to be.

Filters work with images and video layers but it treats video layers much differently. When you apply a filter to an image the changes are permanent unless you hit CTRL + Z to undo the changes. When you apply filters to a video layer you will be able to delete the filter effect or change it at any time.
 Conclusion
You can delete effects and filters you add to video layers at any time. If it’s an adjustment layer, right click on it and click “Delete Layer”. If it’s a filter, Right click on it and click “Delete Smart Filter”. Also, these tips are not just meant for Avatars. You can use these effects for your layouts, banners and other projects as well.
That’s it for this lesson. Hope you were able to learn something from it. Remember to ask for help if something about the lesson confuses you.
Credits: Athens (Author) Orange/Ke (Tester)


